
Today I'll show you 3 different projects; one for your room, one fashion item, and one "back to school" project (hey, might as well make it fun!)
Let's begin!
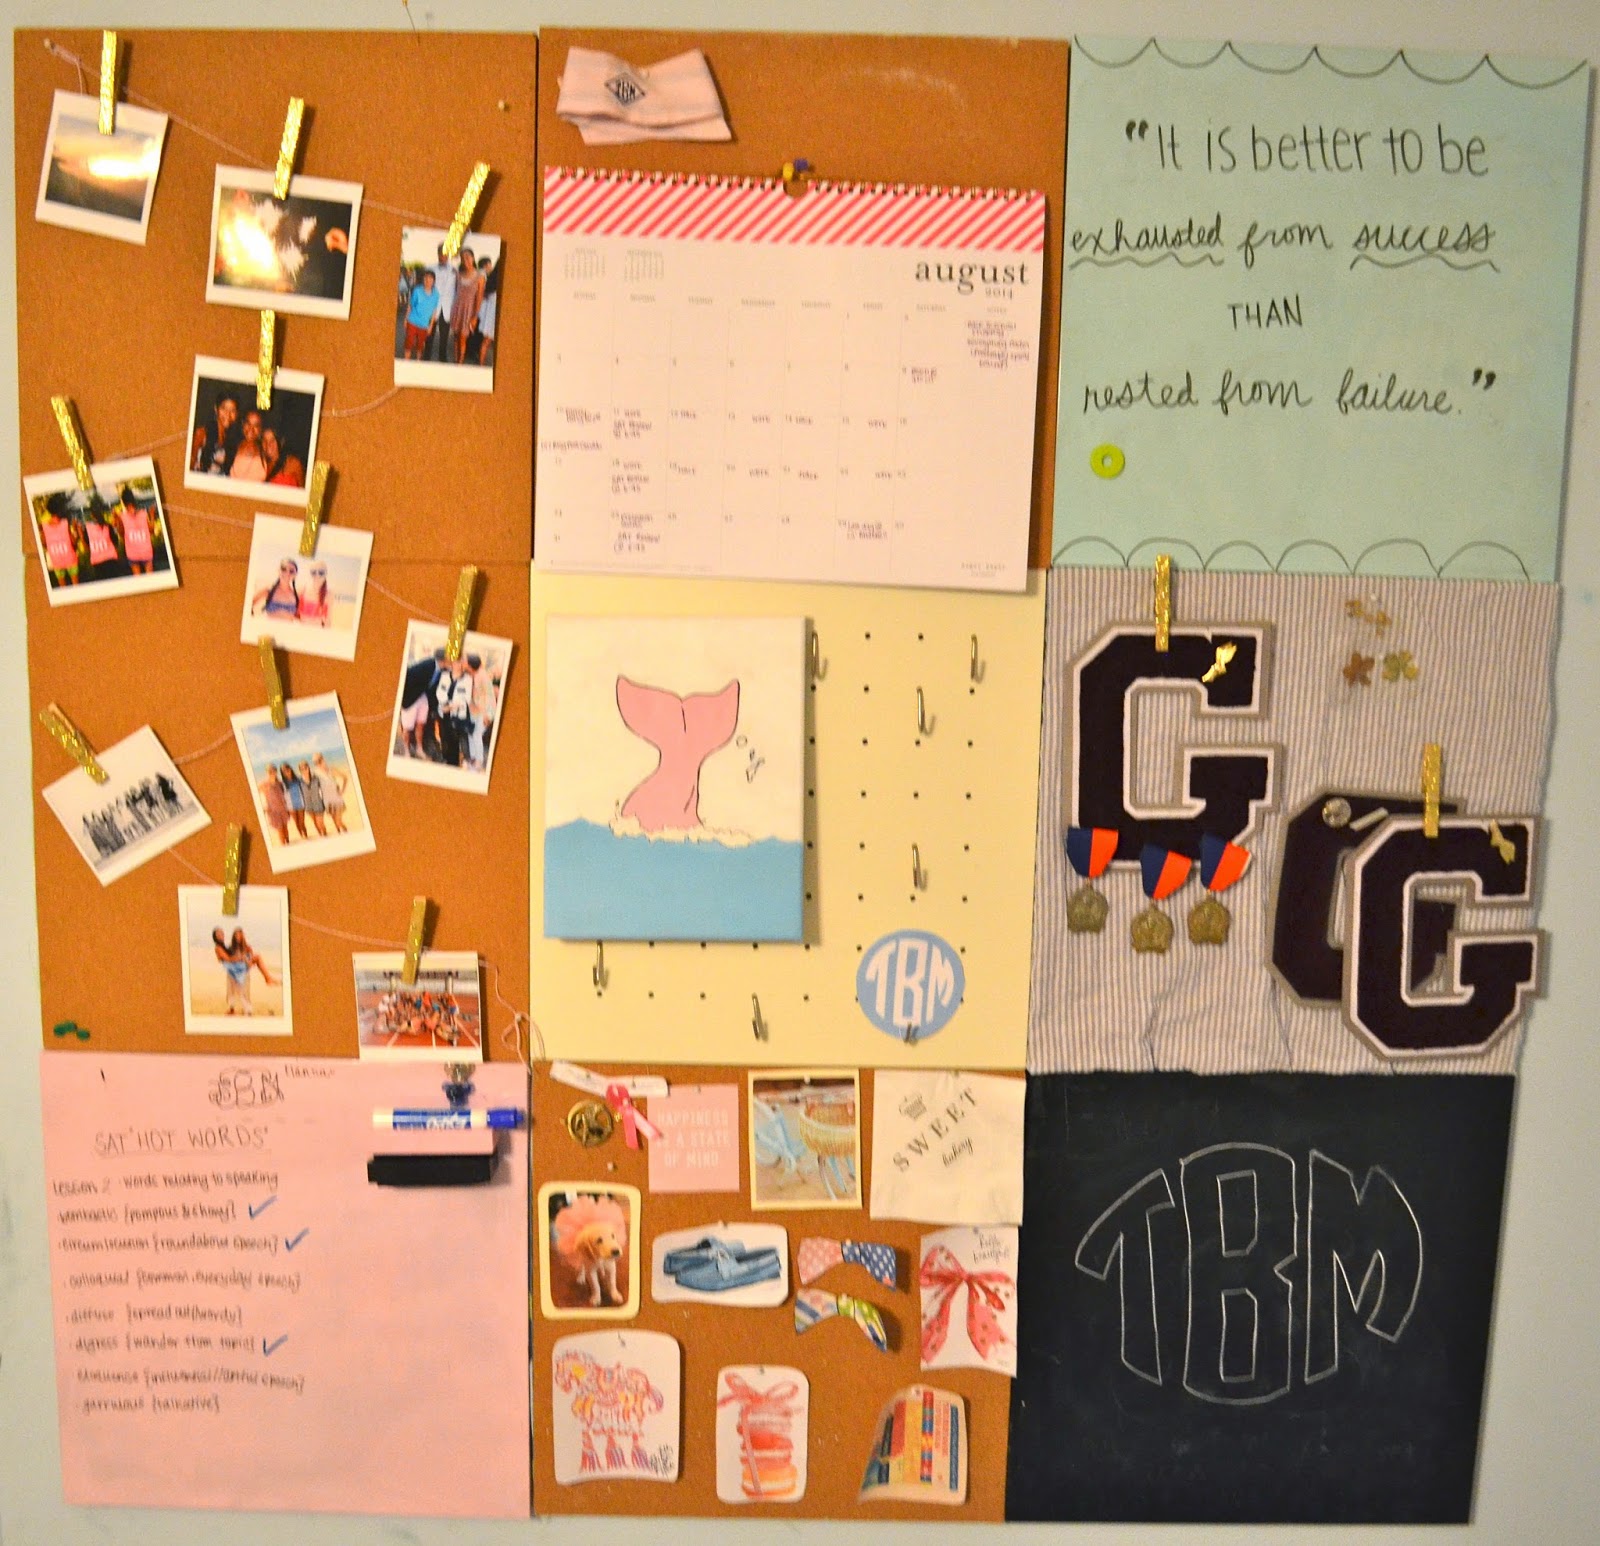
1. Polaroid Inspired Pictures
{you'll need: iPhoto or Microsoft Word, photo or regular paper, clothespins, Mod Podge, glitter, thumbtacks, a paintbrush, string, & a glue gun}
The first project is kind of an upgrade from when I showed it in my last post (see it here). It's basically how to make your own Polaroid-esque pictures but without the camera! I used iPhoto for this, but you can easily use Microsoft Word as well.

1. Add your photo into iPhoto and hit command+P (the "print" command)
2. On the different tabs on the left side, hit "simple border." This will give you a white border surrounding your picture
3. Under "print size," you can play around with the different dimensions to see which best fits your photo. I decided to just keep it as is.
4. Change the paper size to the paper you'll be printing on. I went with a standard 4X6 photo paper
5. Trim around the edges of your photo, but be sure to leave extra room at the bottom (great for writing in a caption), and you're done!
Now for the fun part! Once you have your pictures, you can cut around the border to make them look like a Polaroid! Next, I actually took some clothespins (wooden ones work the best) and used them to hang the pictures.

This is my HOLY GRAIL way of covering things with glitter! You'll want to mix equal parts Mod Podge and your glitter in a bowl and mix it well. It'll look a little something like this, with the glitter seemingly hidden. TRUST ME, it WILL dry clear!! I just coated the clothes pins (you can leave the back unpainted if you want, so it's easier to attach the thumbtack), let them dry for about a half hour, and voila! Once they're dry (or mostly dry if you're impatient like me!), you can hot glue thumbtacks on the back and you're done! This way, you won't have to puncture your pictures to hang them! I also strung them on some baker's twine, and love how it came out :)
 |
| Ta-Daaaaaa |
2. Monogrammed Nike* Shorts
(*Assuming you don't burn your shorts like I did the first time*)
{you'll need: a monogram to trace from, shorts, pre-made iron-on fabric OR fabric+Heat n' Bond, scissors, and an iron}
My second project is...wait for it... monogrammed shorts! I was weary as to how these would turn out, but LOVE it! The brand of iron-on material that I used is also supposed to be able to go through a washing machine, so that's a plus :)
1. Take your iron-on fabric (I got mine from Jo-Anns) or regular fabric using Heat n' Bond (it can turn fabric into iron-on!) and trace your monogram on it. I used a circle block one from http://forchicsake.com/, and it's obviously MUUUCH easier than trying to cut out a script one!
2. I used a sharp scissor to carefully cut out my monogram
3. ***BE CAREFUL: DO NOT place the iron directly on top of your shorts!!! If you noticed, the third picture above has Nike shorts, while the last one is Under Armour. That's because I actually burned a hole right through the Nike ones, which I don't suggest trying :) Place a thin fabric (ex. t-shirt) on top of your shorts and iron on top of that instead!
4. Wear your awesome monogrammed shorts
3. Lilly Pulitzer Labels
{you'll need: Microsoft Word, label paper, laminating paper}
My third project is a Lilly Pulitzer school supply label! This is kind of a spin-off/alternative to Lilly binder covers, and are great if you're more of a notebook+folder person. These would also be great on a calculator!

1. Open up a Lilly print as your background; I recommend http://pulitzerprints.tumblr.com, there's a great collection!
2. On Microsoft word, size your image to how large you want your label to be (I kind of just guestimated)
3. Go to Insert>Shape and drag a rectangle onto your document, then change it to white. This will be where your text will go
4. Go to Insert>Text Box and type in your class or your name! I used the font "KG Hard Candy Striped" from http://www.dafont.com/, which has a ton of cute ones!
5. I actually had label paper that came in a full sheet, so it didn't matter where my labels were placed on the document. I cut them out, then cut out some laminating paper I found at Staples (best thing EVER) and covered the label with it! This stuff is GREAT because it makes your label SO much more durable, and I really use it alot :)
I hope you guys enjoyed this post! Sorry if it's a bit long, but I wanted to be sure I explained everything :)
Kadasia has her post up, so be sure to read up on her projects as well! I love her take on Lilly binder covers, and it's nice to see the instructions!

Let me know which one you think you'd try!
Until next time,
Ti


I absolutely LOVE this post! Such cute, crafty, and creative DIY ideas. I'll definitely be trying these soon!
ReplyDeleteMelissa
Stay Fabulous
Thanks so much! They all were so much fun to make, I'd love to see how yours come out :)
DeleteAhhh I love them ! Love your creativity Tianna(: I have to iron on things to my clothing now ! lol
ReplyDelete{{{Kadasia}}}
Thanks Kadasia! Can't wait for your post!
Delete